November 2026 · Shop tips
How to Approach 6L80 Shift Solenoid Replacement
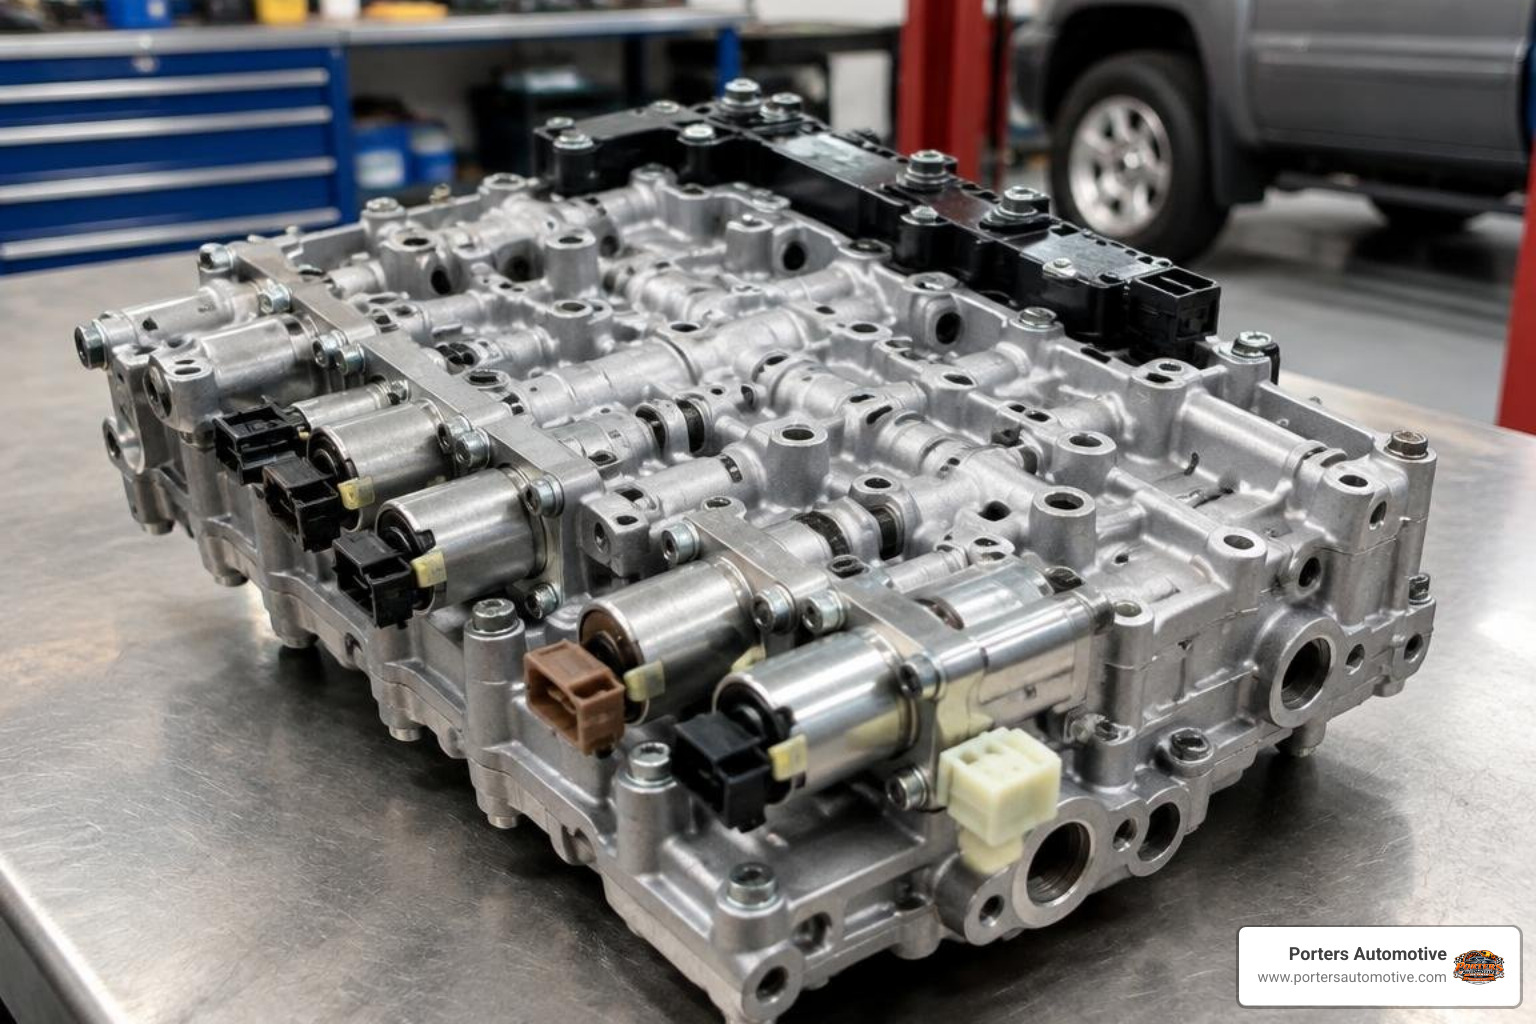
Start with a diagnosis, not a parts order. For a 6L80 shift solenoid replacement, scan the transmission for trouble codes and check the fluid for debris. If testing points to a faulty solenoid, confirm the replacement part matches your transmission. Then remove the pan and filter, access the valve body and solenoid assembly, install the correct part, refill with the specified fluid, and complete the required relearn.
Harsh shifts, delayed engagement, and slipping can also come from valve-body wear or internal damage. Finding metal in the pan is a reason to investigate further before replacing solenoids.
I’m Heath Porter, owner of Porters Automotive, and I’ve worked in automotive service since 2006. I bring that hands-on diagnostic perspective to this guide on 6l80 shift solenoid replacement, starting with how to tell whether the solenoid is the real problem.

Symptoms and Diagnostic Codes of Failing 6L80 Solenoids
When a solenoid begins to fail, the symptoms can range from subtle annoyances to alarming clunks. Solenoids regulate the flow of pressurized transmission fluid to engage and release clutch packs. If a solenoid jams or suffers an electrical failure, the transmission loses precise control over shift timing and pressure.
Common physical symptoms include:
- Harsh 1-2 or 2-3 Shifts: A jarring bang or slam when the transmission shifts into higher gears, often caused by line pressure spiking or a clutch pressure control solenoid sticking open.
- Delayed Engagement: Shifting from Park or Neutral into Drive or Reverse results in a several-second pause before the gear engages with a thud.
- Shift Flare or Slipping: The engine revs up momentarily between gear changes (flaring) before the next gear grabs, or the transmission slips under moderate acceleration.
- Torque Converter Shudder: A vibration that feels like driving over rumble strips, typically between 35 and 55 mph when the torque converter clutch (TCC) slips.
- Limp Mode: The transmission locks itself into 3rd or 5th gear to protect internal components from further damage.
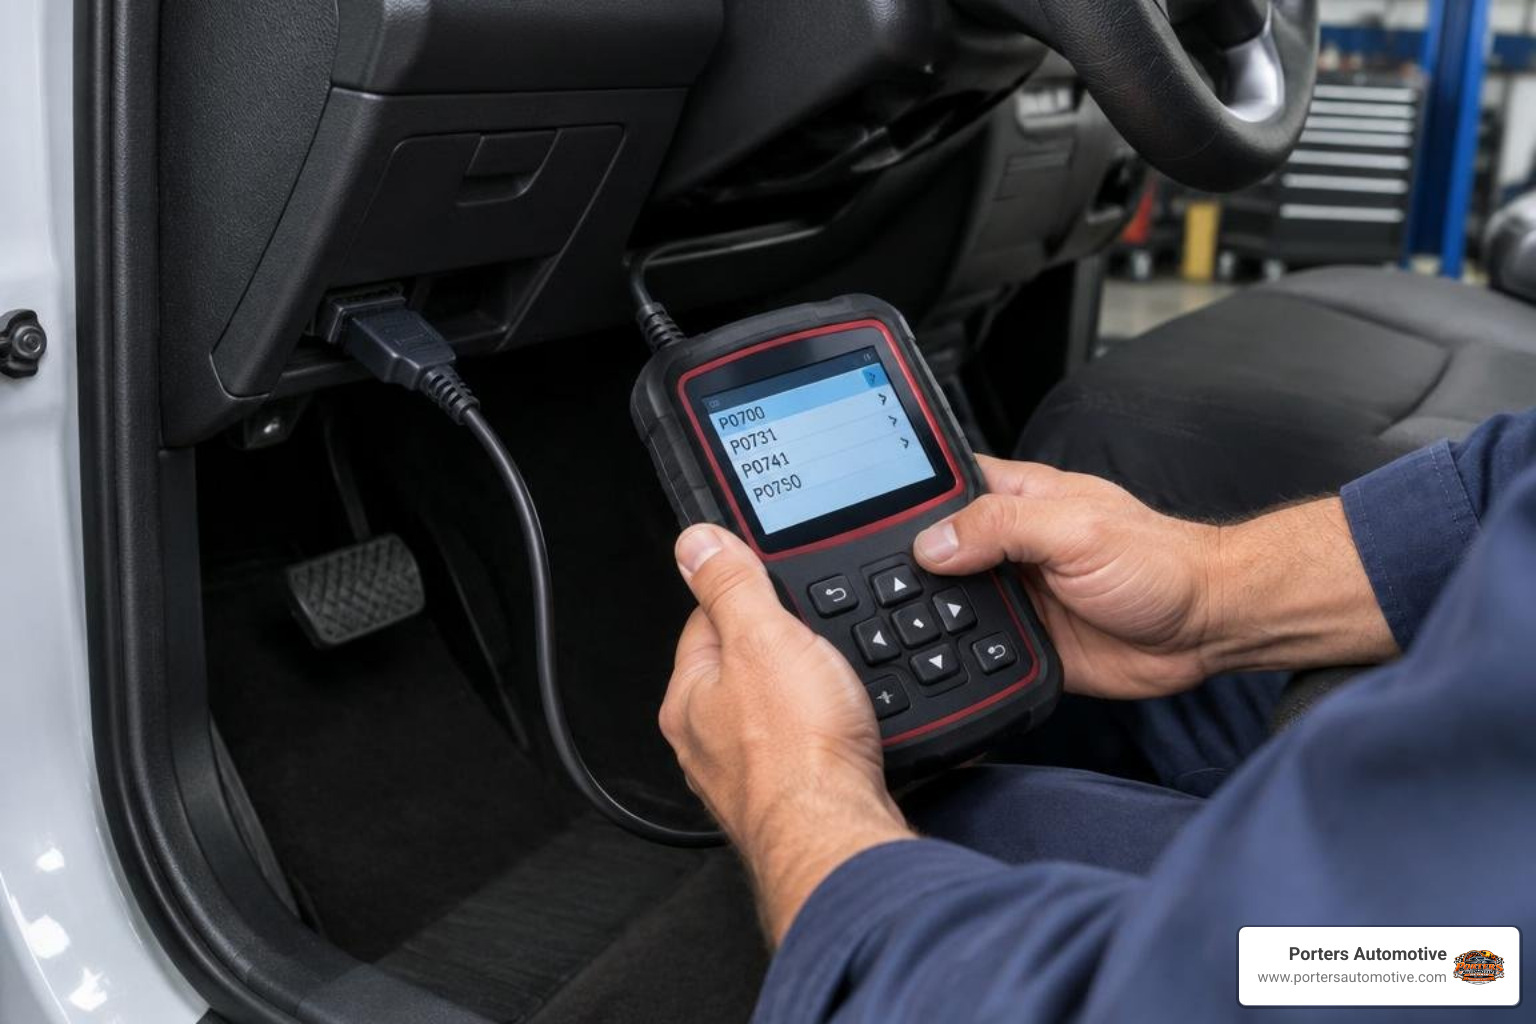
Diagnosing these symptoms requires an advanced OBD2 scanner capable of reading transmission control module (TCM) data. Solenoid-related Diagnostic Trouble Codes (DTCs) include:
- P0700: Transmission Control System Malfunction (an alert that the TCM has stored specific sub-codes).
- P0751 / P0752: Shift Solenoid 1 Performance (Stuck Off) or Stuck On.
- P0776 / P0777: Clutch Pressure Control (CPC) Solenoid 2 Stuck Off or Stuck On.
- P0796 / P0797: Clutch Pressure Control (CPC) Solenoid 3 Stuck Off or Stuck On.
- P0741: Torque Converter Clutch (TCC) System Stuck Off, often pointing to pressure loss at the TCC regulator valve or solenoid.
- P0961, P0962, P0963: Line Pressure Control Solenoid performance or circuit faults.
For comprehensive diagnostic sequences and valve body circuit layouts, you can cross-reference the official SERVICE GUIDE to match individual DTCs to their respective hydraulic circuits.
Testing Solenoids: Multimeter Resistance vs. Bench Testing
Before purchasing replacement parts, you should physically and electrically test the suspect solenoids.
- Multimeter Resistance Checks: Measure the electrical resistance across the solenoid coil terminals using a digital multimeter. A good coil typically reads within a specific ohm range depending on its design generation. An open circuit (infinite resistance) or a short (near zero ohms) confirms a dead electrical coil.
- 12V Bench Pulse Test: You can bench-test an uninstalled solenoid by applying a momentary 12-volt power source and ground across its terminals. A healthy solenoid produces a distinct, crisp audio click as the internal pintle moves. A faint click or complete silence indicates mechanical binding or internal coil degradation.
- Scan Tool Clean Cycle: If a solenoid has physical debris trapped in its valve seat, you might not need to tear the transmission apart. Modern professional scan tools feature a "Service Clean" or "Clean Valve Body" function. This routine pulses 12 volts rapidly to all solenoids simultaneously, cycling them to flush out trapped sediment and varnish.
TEHCM vs. Individual Solenoids: Which Repair Is Right for You?
The 6L80 and 6L90 transmissions do not use a traditional standalone solenoid rack plugged into an external computer. Instead, General Motors integrated the transmission control module, shift solenoids, pressure switches, and fluid temperature sensors into a single submerged unit called the TEHCM (Transmission Electro-Hydraulic Control Module).
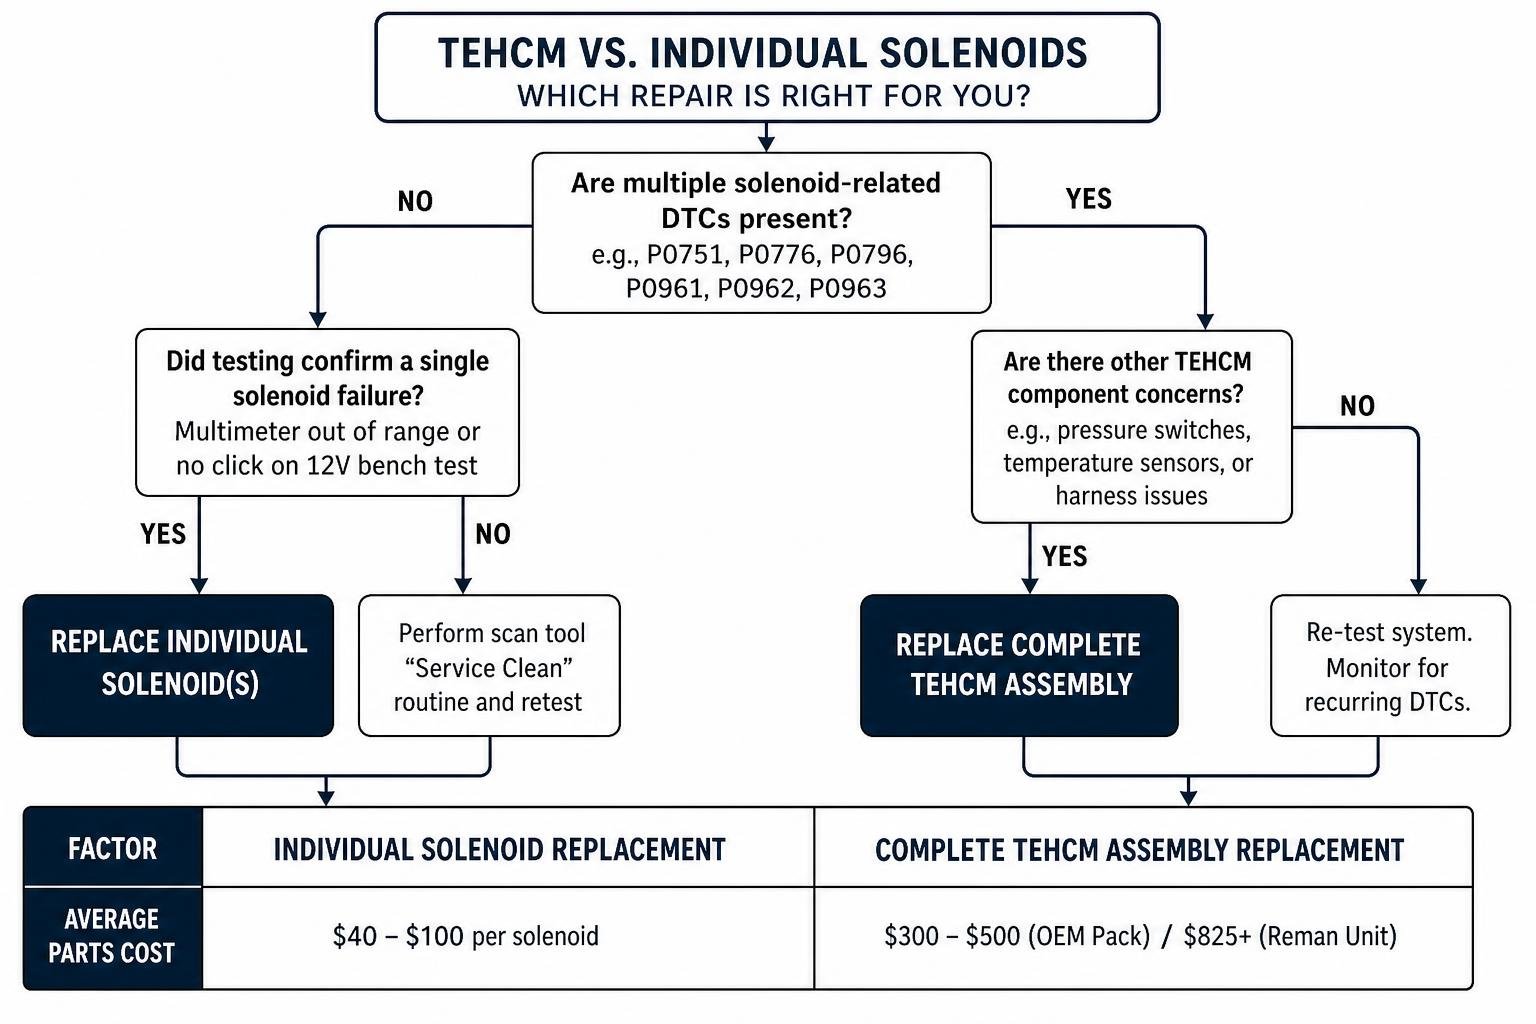
While it is mechanically possible to unclip individual solenoids from the lead frame, doing so comes with trade-offs.
| Factor | Individual Solenoid Replacement | Complete TEHCM Assembly Replacement |
|---|---|---|
| Average Parts Cost | $40 – $100 per solenoid | $300 – $500 (OEM Pack) / $825+ (Reman Unit) |
| Programming Required? | No (Original TCM remains in vehicle) | Yes (Requires GM SPS2 / VIN matching) |
| Pressure Switch Service | Switches remain untouched (old discs) | Includes brand new pressure switch laminate discs |
| Reliability | Moderate (leaves old remaining solenoids) | High (entire electronic assembly renewed) |
| Labor Complexity | High (delicate lead frame de-soldering/clipping) | Moderate (direct bolt-on to valve body) |
If you only replace a single solenoid, you keep your original programmed computer, avoiding reprogramming costs. However, you leave behind aging pressure switch membranes and older neighboring solenoids. If you replace the entire assembly, you must plan for VIN-specific programming using a J2534 pass-thru device or buy a pre-flashed unit. Reviewing a detailed tcm tehcm service guide can help you decide which path matches your diagnostic tools and technical comfort.
Cost Breakdown of 6L80 Shift Solenoid Replacement vs. Rebuild
A typical 6L80 solenoid pack replacement performed at a professional repair facility costs between $800 and $1,200, including fluids, gaskets, filter, parts, and labor. If purchasing a standalone remanufactured TEHCM, the part alone runs approximately $825.99, which commonly includes a refundable $150.00 core charge returned once you mail back your old unit.
By comparison, if internal transmission components (like the 3-5-Reverse clutch drum or torque converter) have failed mechanically, a complete transmission rebuild costs between $2,500 and $4,500 at a transmission shop, while a brand-new remanufactured crate unit installed ranges from $3,500 to $5,000.
6L80 Shift Solenoid Replacement: Step-by-Step Walkthrough
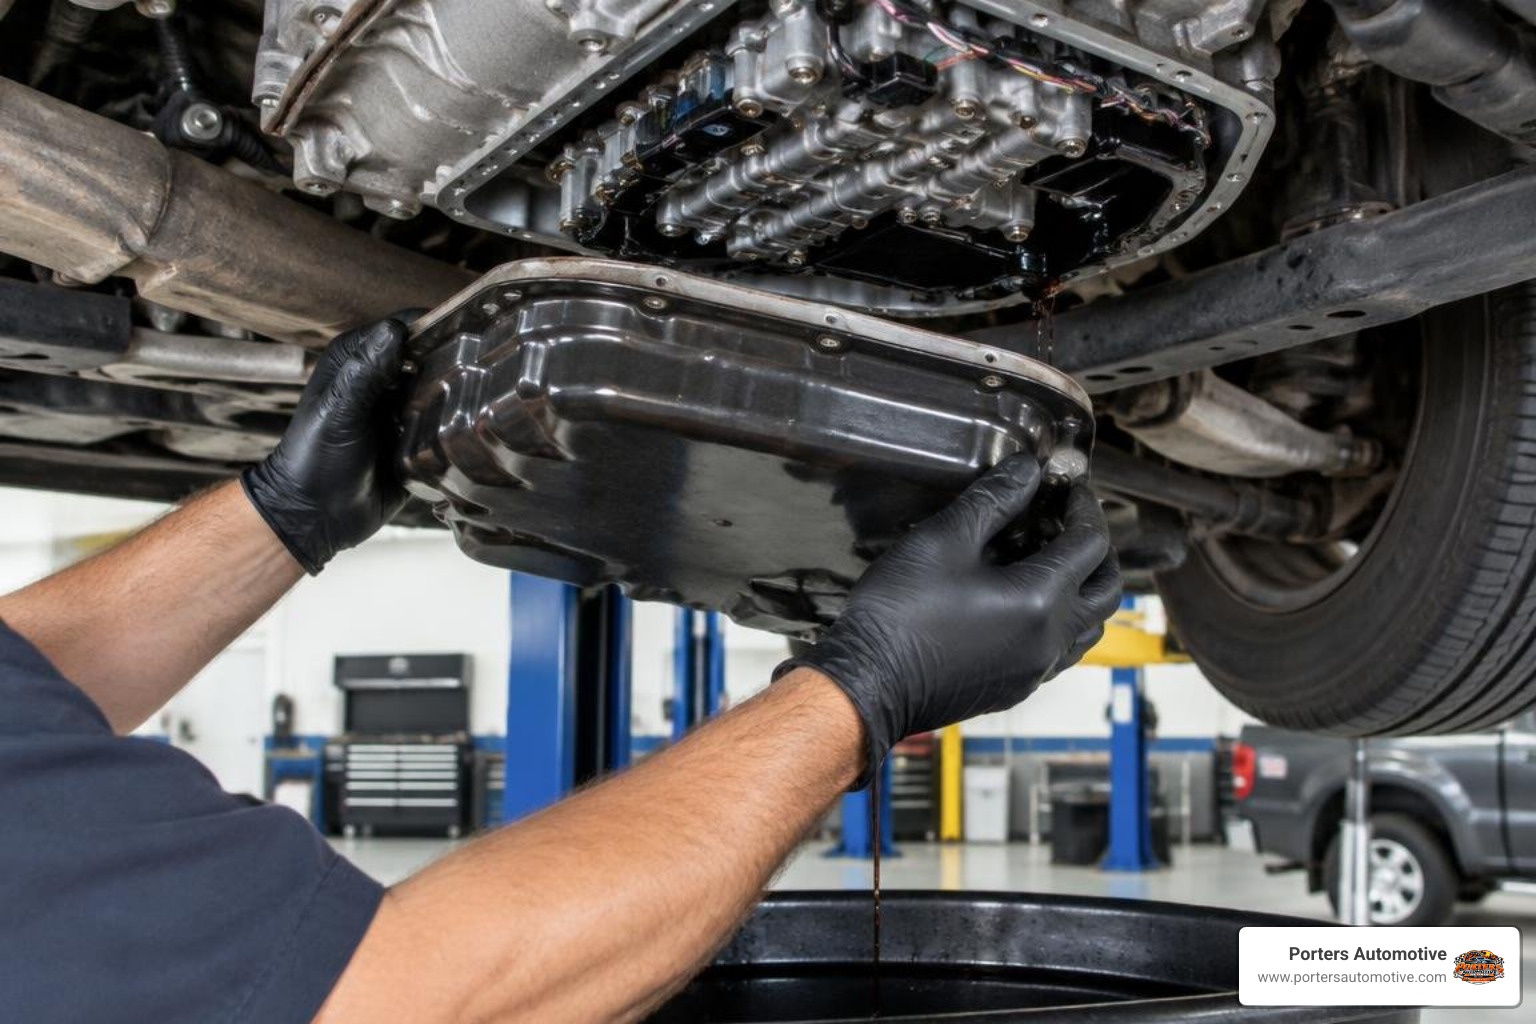
Replacing the solenoids or TEHCM requires dropping the transmission oil pan and unbolting the assembly from the transmission case. If you have tackled similar jobs, such as replacing shift solenoids on other automatic transmissions, you will find the physical steps familiar, though the 6L80 requires careful attention to internal bolt sizes.
Step 1: Drain Fluid and Drop the Pan
- Raise the vehicle safely on jack stands or a hydraulic lift. Ensure it is completely level.
- Position a large drain pan underneath the transmission.
- Remove the rear and side pan bolts (10mm heads) first, leaving the front bolts loosened but threaded. Gently pry the rear of the pan downward to drain the bulk of the Dexron VI transmission fluid.
- Remove the remaining bolts, lower the pan, and inspect the pan bottom and magnet. A light haze of gray clutch dust is normal; distinct metal slivers or flakes mean mechanical failure has occurred.
Step 2: Remove the Filter and Disconnect Electronics
- Pull the transmission filter straight down out of the pump bore. Ensure the orange filter neck seal comes out with it; if it stays in the pump, carefully pry it out without scratching the bore.
- Locate the main vehicle harness connector on the outside rear of the transmission case. Slide the yellow lock tab back, rotate the locking collar counterclockwise, and disconnect the harness.
Step 3: Remove the TEHCM Assembly
- Locate the bolts securing the TEHCM to the valve body and transmission case.
- Critical Detail: The TEHCM uses two distinct bolt lengths: 42mm and 55mm. Note their exact locations as you remove them. Installing a 55mm bolt into a 42mm bore will puncture internal passages or bind the manual valve linkage.
- Unbolt the TEHCM and lower it straight down from the transmission case.
Step 4: Install the Replacement Assembly
- Ensure all mating surfaces are clean and free of lint.
- If replacing individual solenoids, release the retaining clips on the lead frame, swap the solenoid, and verify the seal is lubricated with clean ATF. If replacing the complete TEHCM, mount the new assembly to the valve body.
- Reinstall the mounting bolts into their original positions (matching the 42mm and 55mm lengths).
- Torque all TEHCM-to-valve-body bolts in a crisscross pattern from the inside out to 71 inch-pounds (8 Nm). Do not overtighten.
Step 5: Reassemble Pan and Refill Fluid
- Install a new filter with a fresh neck seal.
- Clean the pan rail, place a new reusable pan gasket on the pan, and reinstall the pan bolts.
- Torque the pan bolts to 106 inch-pounds (12 Nm).
- Reconnect the external main electrical harness and slide the locking tab into place.
- Refill the transmission with approved Dexron VI fluid through the fill plug/dipstick tube.
Essential Tools and Prep for 6L80 Shift Solenoid Replacement
Before beginning this repair, gather these required tools:
- Torx Drivers (T15, T20, T25, T30): Needed for various solenoid retaining brackets and valve body components.
- Inch-Pound Torque Wrench: Essential for securing valve body and TEHCM fasteners without stripping aluminum case threads.
- Large Fluid Drain Pan & Catch Mat: Expect to catch 6 to 8 quarts of fluid.
- Lint-Free Microfiber Towels: Never use standard paper towels or shop rags inside a transmission, as stray fibers clog solenoid fluid passages.
- Electrostatic Discharge (ESD) Protection: Handle the TEHCM with grounding straps or touch a grounded vehicle chassis point before touching the lead frame.
- Diagnostic Scan Tool: Required for fluid temperature checks and adaptive reset routines.
Post-Installation Relearn and Adaptive Reset Procedures
Once mechanical installation and fluid refilling are complete, the transmission cannot be driven aggressively right away. The 6L80 utilizes adaptive learning algorithms to calculate exact clutch apply pressures and fill times.
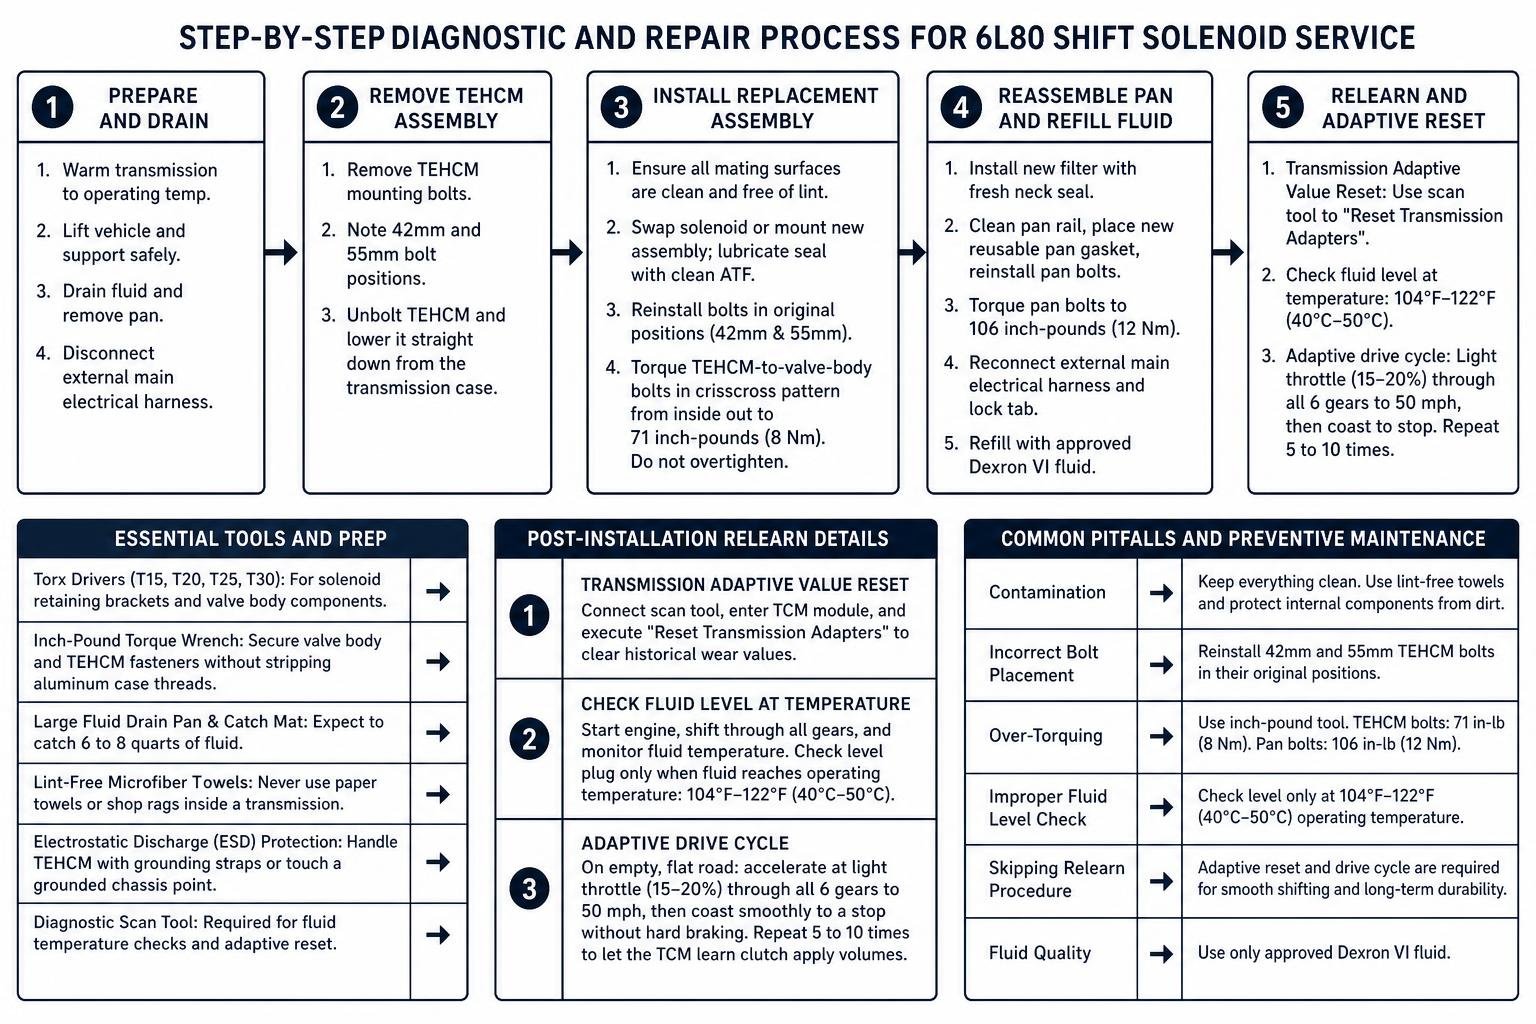
- Transmission Adaptive Value Reset: Connect your scan tool, enter the TCM module, and execute the "Reset Transmission Adapters" function to clear historical wear values.
- Check Fluid Level at Temperature: Start the engine, shift through all gears, and monitor fluid temperature on your scan tool. Check the level plug only when the transmission fluid reaches operating temperature (between 104°F and 122°F / 40°C and 50°C).
- Adaptive Drive Cycle: Take the vehicle on an empty, flat roadway. Accelerate at light throttle (roughly 15–20% throttle angle) through all six gears until you reach 50 mph, then coast down smoothly to a complete stop without hard braking. Repeat this cycle 5 to 10 times to let the TCM learn smooth clutch apply volumes.
Common Pitfalls and Preventive Maintenance for 6L80 and 6L90
The biggest mistake made during a 6L80 solenoid service is confusing a symptom for the root cause. While solenoids frequently register fault codes, the underlying trigger is often contamination from a failing torque converter clutch.
GM’s factory programming allows continuous, minute torque converter slip to smooth out V8-to-V4 active fuel management transitions. Over time, this constant slip wears down the torque converter clutch lining, circulating fine metallic and friction particles through the fluid circuit. This debris travels straight into the valve body and settles inside the solenoid snouts, causing them to stick.
To protect your new shift solenoids and maximize transmission life:
- Check Line Pressure Tolerances: Verify that main line pressure remains within 5 PSI of factory service specifications. A variance greater than 5 PSI indicates internal pump slide wear or case bore leakage, not a simple solenoid malfunction.
- Never Mix Bolt Lengths: Reversing the 42mm and 55mm TEHCM bolts leads to structural distortion, fluid cross-leaks, and broken internal passages.
- Service Fluid Frequently: Change your transmission fluid and filter every 45,000 to 50,000 miles using fully certified Dexron VI synthetic fluid. Routine servicing prevents fluid oxidation and valve-body bore wear.
Frequently Asked Questions About 6L80 Shift Solenoids
Can you replace just one shift solenoid on a 6L80?
Yes, you can mechanically replace a single solenoid by dropping the pan, lowering the TEHCM, and carefully disengaging the individual solenoid from the plastic lead frame. However, because the labor required to drop the pan and access the valve body is significant, most professionals replace either all shift solenoids or the entire TEHCM assembly to prevent having to perform the same repair again if an adjacent solenoid fails soon after.
Does a replacement TEHCM require programming?
Yes. If you install a brand-new or unprogrammed remanufactured TEHCM, the vehicle will not start or move. The module must be flashed with GM's SPS2 (Service Programming System) software using a J2534 pass-thru tool to match your vehicle's specific VIN, gear ratios, and immobilizer security setup. Alternatively, you can purchase pre-flashed TEHCM units from specialized suppliers who program your VIN before shipping.
How do I know if the transmission needs a rebuild instead of solenoids?
If your fluid smells sharply burnt, appears dark brown or black, or if you find metal shavings and flakes in the bottom of the pan, the transmission requires a full mechanical rebuild. Solenoids control fluid flow, but they cannot restore burned clutch plates, broken 3-5-Reverse drums, or shredded torque converter linings. If your line pressure deviates by more than 5 PSI from spec across multiple gears, the hydraulic leak is internal to the case.
Conclusion
A failing 6L80 or 6L90 shift solenoid can make your truck or SUV feel undriveable, but diagnosing the issue properly saves thousands of dollars in unnecessary repairs. By methodically reading trouble codes, inspecting the fluid for metal debris, and using the right replacement strategy—whether swapping an individual valve or updating the full TEHCM—you can restore smooth, crisp gear changes.
If your vehicle is slipping, clunking, or throwing persistent transmission codes, we are here to help. At Porters Automotive, our team provides advanced electronic diagnostics, module programming, and complete drivetrain maintenance across our shops in Tallahassee, Quincy, and Bradfordville. Explore our full range of expert transmission repair and automotive services to schedule your transmission inspection today.