October 2026 · Shop tips
How to Replace a 42RLE Shift Solenoid Without Dropping the Transmission
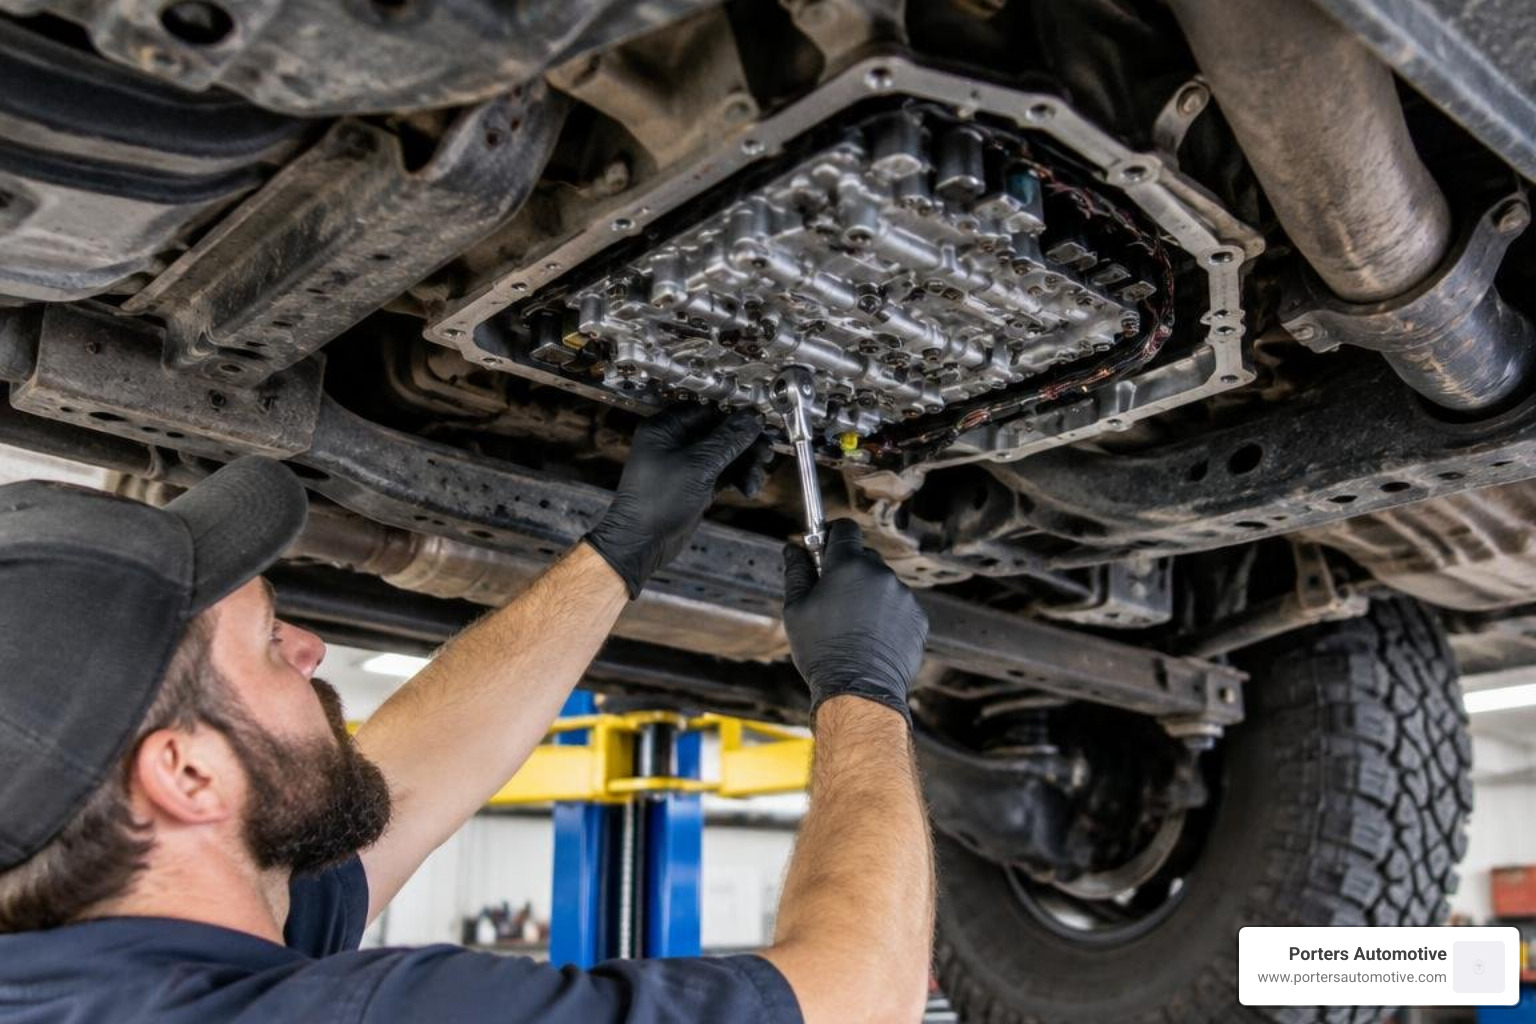
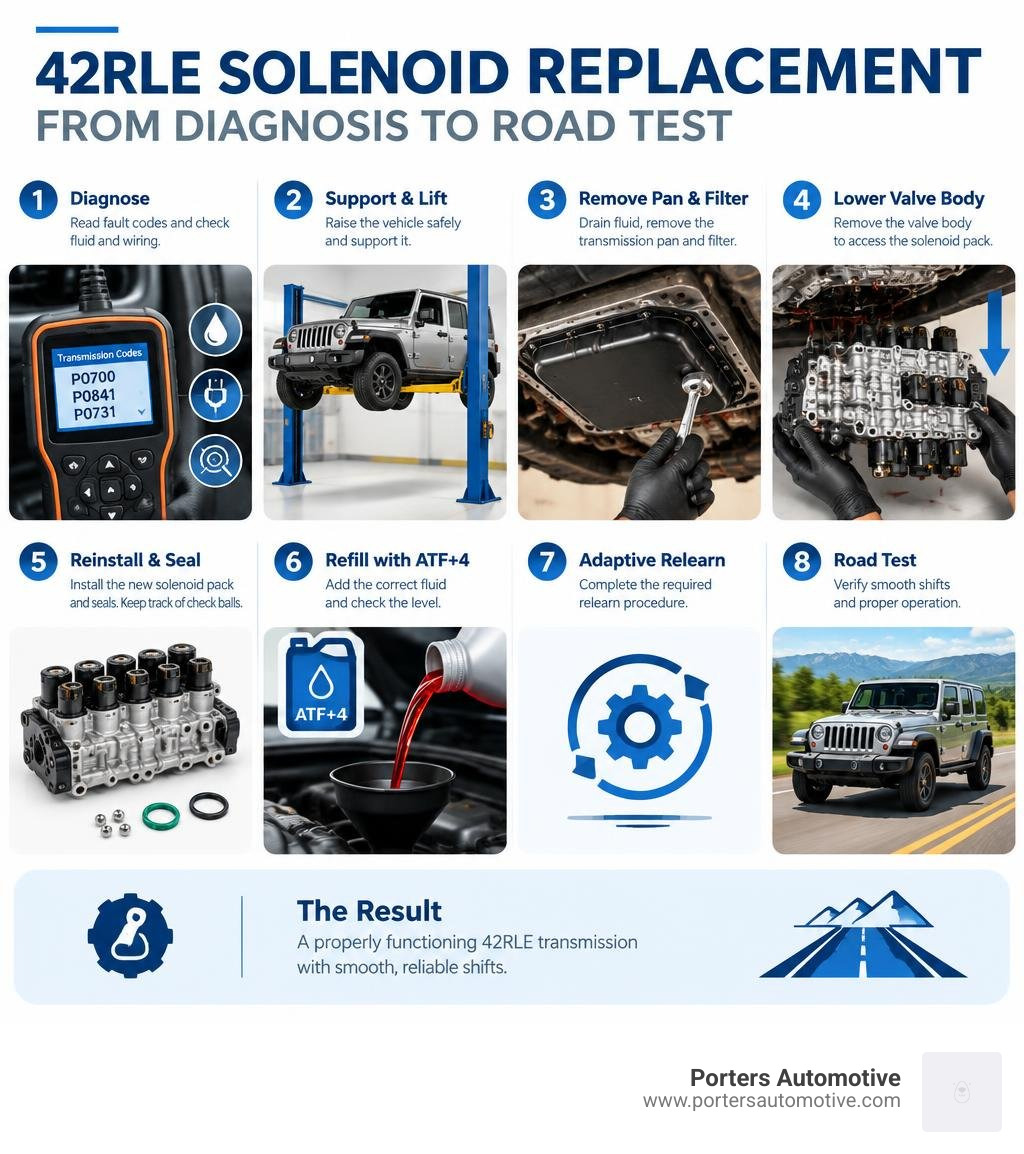
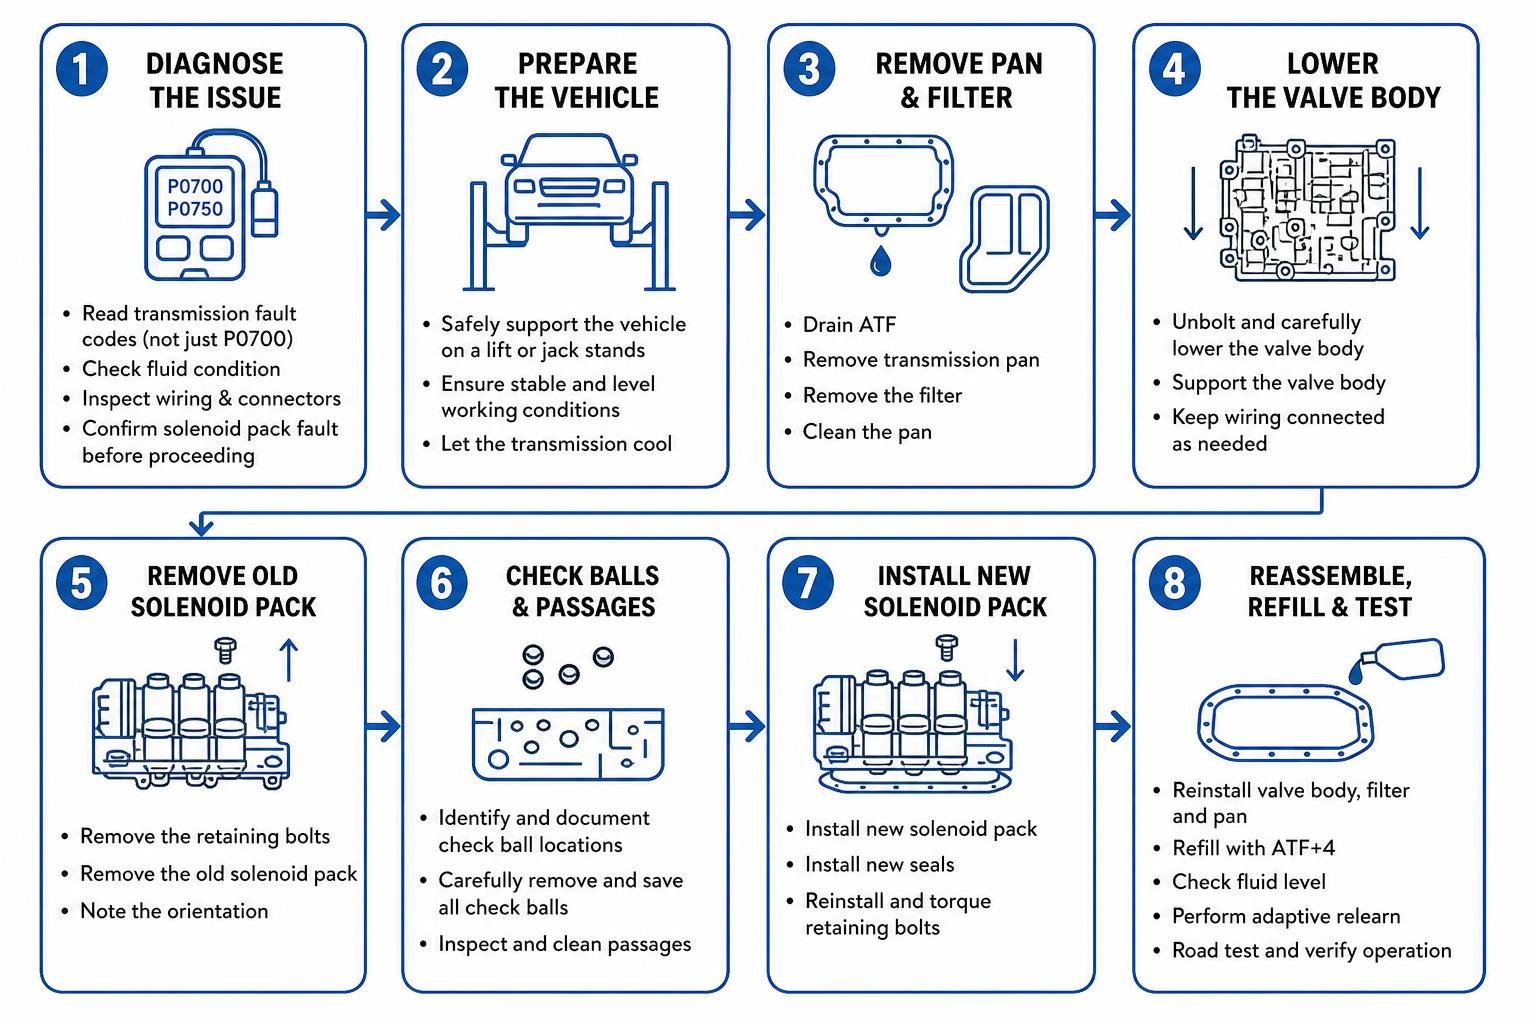
You can replace the 42RLE solenoid pack without removing the transmission. First, read the transmission fault codes and check the fluid and wiring; limp mode alone does not prove the pack is bad. If testing points to the pack, support the vehicle, remove the transmission pan and filter, then lower the valve body to reach it. Keep track of any check balls, install the correct replacement pack and seals, and refill with ATF+4. Check the fluid level, complete the required adaptive relearn, and road-test the vehicle. This complete 42rle shift solenoid replacement guide covers the diagnosis, valve body removal, and refill steps you need.
I’m Heath Porter, owner of Porters Automotive, and I’ve worked in auto service since 2006. For 42rle shift solenoid replacement, I start with a clear diagnosis so the repair addresses the cause, not just the symptom.
Diagnosing 42RLE Solenoid Failure vs. Other Transmission Issues
The Chrysler 42RLE 4-speed automatic transmission has earned a difficult reputation among vehicle owners over the years. Found in the Jeep Wrangler TJ (2003–2006), Wrangler JK (2007–2011), Jeep Liberty (2003–2012), Dodge Dakota, Durango, Charger, and Ram 1500, this transmission relies heavily on electronic solenoids to direct hydraulic pressure. When something goes wrong inside the hydraulic circuitry, the transmission control module (TCM) protects the mechanical clutches by triggering limp-home mode, locking the unit into second or third gear.
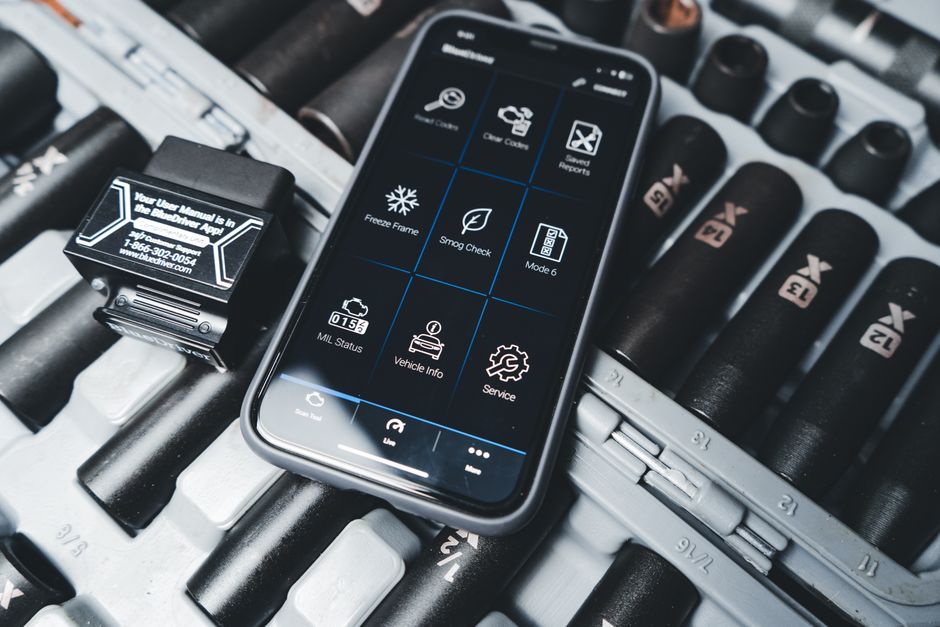
Before jumping straight to parts replacement, you need to verify what is actually failing. The vehicle's check engine light will often trigger a generic P0700 gateway code. This code simply means the powertrain control module received a fault notification from the transmission controller. You must connect a scan tool capable of reading manufacturer transmission sub-codes to pinpoint the actual issue. Reviewing Dodge transmission diagnostic codes helps distinguish electrical solenoid faults from mechanical slipping or torque converter clutch (TCC) failures.
Other common failure points mimic solenoid failure. For example, a failing input or output speed sensor (often throwing codes like P0715, P0720, or P0700 sub-codes) will cause sudden dropouts into limp mode. A speed sensor swap typically costs $150 to $350 installed, whereas an entire solenoid pack replacement costs between $400 and $1,000 when handled by a shop. Mechanical clutch wear or valve body bore wear can also cause pressure drops that mimic electrical failures.
| Symptom | Faulty Solenoid Block | Valve Body Bore Wear | Speed Sensor Failure |
|---|---|---|---|
| Limp-Home Mode (Fixed Gear) | Yes (Constant or Intermittent) | Rare (Usually causes slipping first) | Yes (Sudden trigger at speed) |
| Diagnostic Fault Codes | P0750, P0755, P0760, P0765, P0770 | P0841, P0868, P1775, P1776 | P0715, P0720, P0725 |
| Shift Behavior | Erratic shifts, failure to engage gears | Delayed reverse, shift flares, shudder | Harsh gear hunting, speedometer fluctuation |
| Fluid Condition | Often clean or normal wear | Often contaminated or burnt | Normal / unrelated to fluid |
Complete 42RLE Shift Solenoid Replacement Step-by-Step Guide
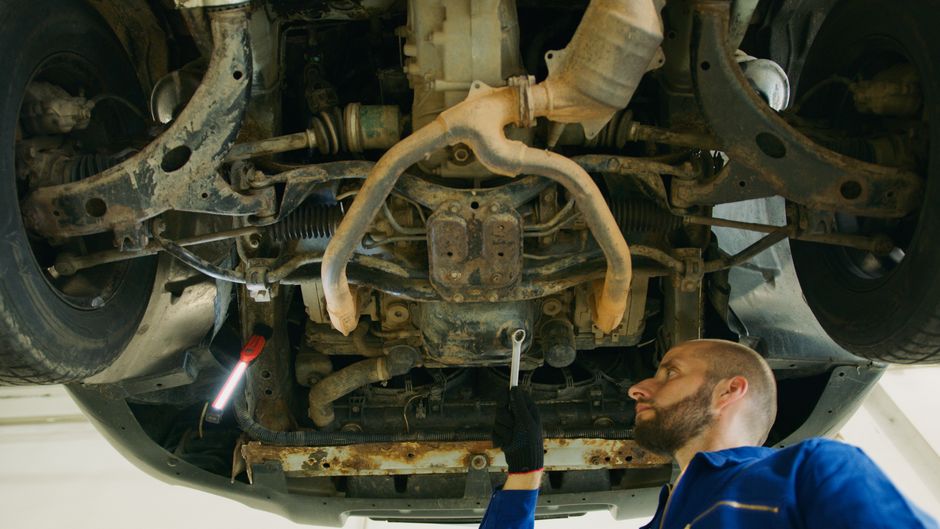
A full transmission rebuild or replacement typically costs between $2,500 and $5,000 or more. Replacing a faulty solenoid pack yourself or during a routine service is far cheaper than the major overhaul it prevents. You can complete this job entirely from underneath the vehicle without removing the transmission case or driveshafts.
Essential Tools and Parts for 42RLE Shift Solenoid Replacement
Gather all required supplies before opening the transmission pan:
- Replacement Solenoid Block: OEM Mopar part number 04800171AA (fits 2003-and-up models, priced around $208.44) or cross-referenced part number 5143151AA / 68059549AA.
- Related Hardware: Replacement pan gasket, shift solenoid gasket plate, and a new Mopar gearshift bracket component if your external linkage or bracket is worn or damaged.
- Transmission Filter: Genuine OEM Mopar transmission filter with a fresh rubber pickup seal.
- Fluid: 4 to 6 quarts of certified ATF+4 automatic transmission fluid.
- Hand Tools: 8mm, 10mm, and 13mm sockets, ratchet, Torx bits (T25), inch-pound torque wrench, trim clip remover, flathead screwdriver, and a magnetic parts tray.
- Shop Supplies: Brake cleaner, lint-free shop rags, oil drain pan, clean petroleum jelly, and eye protection.
Removing the Valve Body and Handling Check Balls
- Disconnect Battery & Elevate: Disconnect the negative battery terminal. Safely raise and support the vehicle on jack stands.
- Drain the Fluid: Place a large drain pan underneath the transmission. Loosen the pan bolts around the perimeter, leaving two bolts loosely attached at one end so the pan tilts downward to control the fluid drain. Once the flow subsides, remove the remaining bolts, lower the pan, and discard the old fluid.
- Remove the Transmission Filter: Unscrew the filter retaining screw (T25 Torx) and pull the filter straight down. Ensure the old orange/black filter neck O-ring comes out of the transmission pump bore.
- Disconnect Linkage and Electrical Connector: Unlock the wiring harness connector on the driver side of the transmission case that connects to the solenoid block. Push the connector slide lock upward and disconnect the plug. Outside the case, unbolt the manual shift lever linkage.
- Drop the Valve Body: The manual shift shaft passes through the case. Loosen the valve body mounting bolts evenly. Support the assembly with one hand while loosening the final fasteners.
- Watch for Check Balls: Lower the valve body slowly and keep it completely level. In the 42RLE, check balls sit inside hydraulic passages between the valve body and separator plate. If the valve body plate separates slightly, a small metal check ball can dislodge. Keep the assembly flat to prevent check balls from rolling out unexpectedly.
Swapping the Solenoid Pack and Reinstalling the Assembly
- Remove the Solenoid Block: Place the valve body on a spotless, lint-free workbench. Unbolt the solenoid pack retaining bolts from the top of the valve body casting. Lift the old solenoid pack directly off the separator plate.
- Clean Passages: Inspect the separator plate and passages. Clean any old fluid or varnish using brake parts cleaner and let it dry completely. Do not use compressed air directly into small open cavities containing check balls.
- Install the New Solenoid Pack: Position the new gasket and place the new solenoid block (OEM 04800171AA) onto the valve body. Fasten the mounting screws evenly to 45–50 in-lbs (5 Nm).
- Reinstall Valve Body into Case: Align the manual lever inside the case with the internal selector rooster comb. Push the electrical connector up through the case hole until its O-ring seals properly. Thread the valve body bolts by hand, then torque them in a crisscross pattern from the center outward to 105 in-lbs (12 Nm).
- Install New Filter and Pan: Press the new filter seal into the pump bore, install the new filter, and tighten its screw to 40 in-lbs (4.5 Nm). Clean the pan mating surfaces thoroughly. Install a fresh reusable gasket or continuous bead of ATF-rated RTV, mount the pan, and torque pan bolts to 145 in-lbs (16.5 Nm).
Avoiding Common Pitfalls and Ensuring Clean Installation
A frequent challenge during valve body removal is rust and corrosion buildup on the exposed manual shift shaft outside the transmission case. Road grime, salt, and water settle on this steel shaft. When you loosen the valve body bolts, the shaft must slide inward through the aluminum case and seal. If rust is present, the shaft will bind, making the valve body feel stuck. Never pry against the aluminum transmission casing with a pry bar. Instead, spray penetrating lubricant or brake cleaner on the exposed shaft and clean off all corrosion with fine emery cloth or a wire brush before sliding it through the bore.
Another critical pitfall is using incorrect transmission fluid. The 42RLE hydraulic clutch pack and variable line pressure system require ATF+4. Using generic "universal" fluids or non-friction-modified ATF causes clutch shudder, shift flaring, and premature solenoid wear. A standard fluid and filter service costs around $150 to $400, making clean, correct fluid the most cost-effective protection available.
Finally, always inspect the manual shift shaft rubber lip seal in the case bore while the valve body is dropped. Replacing this inexpensive seal now prevents fluid leaks that would otherwise require dropping the pan again later.
Troubleshooting Persistent Shifting Issues After Solenoid Swap
If you complete the solenoid installation, refill the fluid, and your transmission still shifts erratically or reverts to limp mode, do not assume your new solenoid is defective. External wiring and internal wear are common culprits.
On modified vehicles like lifted Jeep Wranglers, the wiring harness running along the upper bellhousing can become pinched or stretched against the firewall or body tub. A crushed wiring harness or bent connector pins will interrupt low-voltage signals from the TCM, triggering solenoid circuit fault codes even with a brand-new solenoid pack installed. Always inspect the harness loom and test for continuity between the TCM pins and the solenoid plug.
You also need to determine whether your problem requires replacing just the solenoid pack or the complete valve body:
- Solenoid Pack Replacement Only: Appropriate when fault codes are strictly electrical (P0750, P0755, circuit open/short) and line pressure remains healthy.
- Complete Valve Body Replacement: Necessary when diagnostic scans show high Clutch Volume Index (CVI) numbers, persistent solenoid switch valve sticking (codes P1775/P1776), or line pressure issues (codes P0868, P0841). In these scenarios, the internal aluminum bores for the solenoid switch valve and pressure regulator have worn out, allowing fluid to bypass the valves regardless of solenoid operation.
Post-Installation Relearn and Testing After 42RLE Shift Solenoid Replacement
After buttoning up the pan and filling with approximately 4 quarts of fresh ATF+4, perform the post-installation procedure:
- Initial Fluid Fill: Start the engine in Park, let it idle, cycle through Reverse, Neutral, and Drive, and check the dipstick. Top off as needed to reach the lower "Cold" mark.
- TCM Adaptive Quick Learn: Connect a bidirectional scan tool and execute the TCM Quick Learn / Adaptive Relearn function. The 42RLE continuously calculates clutch fill volumes. Resetting these adaptives clears old, worn clutch calibration profiles from the computer memory.
- Warm Check: Drive the vehicle gently until the transmission reaches normal operating temperature (approximately 160°F–180°F / 71°C–82°C). Park on level ground, leave the engine running in Park or Neutral (refer to your vehicle's specific manual), and verify the fluid sits squarely in the "Hot" crosshatched area on the dipstick.
- Road Test: Complete several light-throttle acceleration cycles from a stop through 4th gear, verifying smooth upshifts, proper torque converter clutch lockup, and firm downshifts.
Frequently Asked Questions About 42RLE Solenoid Service
How long does a 42RLE shift solenoid replacement take?
For an experienced DIY mechanic working on jack stands, the job typically takes 2 to 3.5 hours. In a professional shop equipped with a vehicle lift and fluid recovery systems, flat-rate labor time ranges between 1.5 and 2.5 hours.
What should I do if a check ball falls out during valve body removal?
If a check ball falls out when lowering the valve body, identify its correct channel in the upper valve body casting using your service manual diagram. Most 42RLE models use a single internal check ball in the main valve body passage. Clean the ball, place it into its designated pocket, and secure it temporarily with a small dab of clean petroleum jelly (Vaseline). The petroleum jelly holds the ball in place while you lift the assembly back into the case and dissolves completely into the warm transmission fluid without causing contamination.
Can I drive my vehicle with a failing 42RLE shift solenoid?
You should not drive extended distances if the transmission is in limp-home mode or experiencing severe shift flares. Operating locked in 2nd or 3rd gear generates excess heat inside the torque converter and clutches. Driving short distances at low speeds to get off the road or reach a local repair facility is acceptable, but towing the vehicle prevents secondary mechanical damage that could turn a simple solenoid swap into a full transmission rebuild.
Conclusion
A failing 42RLE solenoid pack does not mean your vehicle needs an expensive transmission replacement. By diagnosing fault codes carefully, dropping the pan, handling the valve body cleanly, and refilling with genuine ATF+4 fluid, you can resolve erratic shifting and limp mode issues from home.
If you are dealing with persistent transmission codes, hydraulic pressure drops, or electrical harness faults, our team at Porters Automotive is here to help. Contact us in Tallahassee, Quincy, or Bradfordville for expert diagnostics, routine maintenance, and professional transmission repair services.